User guide: Authorization with Keycloak Authorization Services
Keycloak provides a powerful set of tools (REST endpoints and administrative UIs), also known as Keycloak Authorization Services, to manage and enforce authorization, workflows for multiple access control mechanisms, including discretionary user access control and user-managed permissions.
This user guide is an example of how to use Authorino as an adapter to Keycloak Authorization Services while still relying on the reverse-proxy integration pattern, thus not involving importing an authorization library nor rebuilding the application's code.
Authorino capabilities featured in this guide:
- Identity verification & authentication → JWT verification
- Authorization → Open Policy Agent (OPA) Rego policies
For further details about Authorino features in general, check the docs.
Requirements
- Kubernetes server with permissions to install cluster-scoped resources (operator, CRDs and RBAC)
- Keycloak server
- jq, to extract parts of JSON responses
If you do not own a Kubernetes server already and just want to try out the steps in this guide, you can create a local containerized cluster by executing the command below. In this case, the main requirement is having Kind installed, with either Docker or Podman.
Deploy the identity provider and authentication server by executing the command below. For the examples in this guide, we are going to use a Keycloak server preloaded with all required realm settings.
kubectl create namespace keycloak
kubectl -n keycloak apply -f https://raw.githubusercontent.com/kuadrant/authorino-examples/main/keycloak/keycloak-deploy.yaml
Forward local requests to Keycloak running inside the cluster (if using Kind):
The next steps walk you through installing Authorino, deploying and configuring a sample service called Talker API to be protected by the authorization service.
| Using Kuadrant |
|---|
|
If you are a user of Kuadrant and already have your workload cluster configured and sample service application deployed, as well as your Gateway API network resources applied to route traffic to your service, skip straight to step ❺. At step ❺, instead of creating an For more about using Kuadrant to enforce authorization, check out Kuadrant auth. |
❶ Install the Authorino Operator (cluster admin required)
The following command will install the Authorino Operator in the Kubernetes cluster. The operator manages instances of the Authorino authorization service.
curl -sL https://raw.githubusercontent.com/Kuadrant/authorino-operator/main/utils/install.sh | bash -s
❷ Deploy Authorino
The following command will request an instance of Authorino as a separate service1 that watches for AuthConfig resources in the default namespace2, with TLS disabled3.
kubectl apply -f -<<EOF
apiVersion: operator.authorino.kuadrant.io/v1beta1
kind: Authorino
metadata:
  name: authorino
spec:
  listener:
    tls:
      enabled: false
  oidcServer:
    tls:
      enabled: false
EOF
❸ Deploy the Talker API
The Talker API is a simple HTTP service that echoes back in the response whatever it gets in the request. We will use it in this guide as the sample service to be protected by Authorino.
kubectl apply -f https://raw.githubusercontent.com/kuadrant/authorino-examples/main/talker-api/talker-api-deploy.yaml
❹ Setup Envoy
The following bundle from the Authorino examples deploys the Envoy proxy and configuration to wire up the Talker API behind the reverse-proxy, with external authorization enabled with the Authorino instance.4
kubectl apply -f https://raw.githubusercontent.com/kuadrant/authorino-examples/main/envoy/envoy-notls-deploy.yaml
The command above creates an Ingress with host name talker-api.127.0.0.1.nip.io. If you are using a local Kubernetes cluster created with Kind, forward requests from your local port 8000 to the Envoy service running inside the cluster:
❺ Create an AuthConfig
Create an Authorino AuthConfig custom resource declaring the auth rules to be enforced.
In this example, Authorino will accept access tokens (JWTs) issued by the Keycloak server. These JWTs can be either normal Keycloak ID tokens or Requesting Party Tokens (RPT).
RPTs include claims about the permissions of the user regarding protected resources and scopes associated with a Keycloak authorization client that the user can access.
When the supplied access token is an RPT, Authorino will just validate whether the user's granted permissions present in the token include the requested resource ID (translated from the path) and scope (inferred from the HTTP method). If the token does not contain a permissions claim (i.e. it is not an RPT), Authorino will negotiate a User-Managed Access (UMA) ticket on behalf of the user and try to obtain an RPT on that UMA ticket.
In cases of asynchronous user-managed permission control, the first request to the API using a normal Keycloak ID token is denied by Authorino. The user that owns the resource acknowledges the access request in the Keycloak UI. If access is granted, the new permissions will be reflected in subsequent RPTs obtained by Authorino on behalf of the requesting party.
Whenever an RPT with proper permissions is obtained by Authorino, the RPT is supplied back to the API consumer, so it can be used in subsequent requests thus skipping new negotiations of UMA tickets.
Kuadrant users –
Remember to create an AuthPolicy instead of an AuthConfig.
For more, see Kuadrant auth.
|
kubectl apply -f -<<EOF
apiVersion: authorino.kuadrant.io/v1beta2
kind: AuthConfig
metadata:
  name: talker-api-protection
spec:
  hosts:
  - talker-api.127.0.0.1.nip.io
  authentication:
    "keycloak-kuadrant-realm":
      jwt:
        issuerUrl: http://keycloak.keycloak.svc.cluster.local:8080/realms/kuadrant
  authorization:
    "uma":
      opa:
        rego: |
          pat := http.send({"url":"http://talker-api:523b92b6-625d-4e1e-a313-77e7a8ae4e88@keycloak.keycloak.svc.cluster.local:8080/realms/kuadrant/protocol/openid-connect/token","method": "post","headers":{"Content-Type":"application/x-www-form-urlencoded"},"raw_body":"grant_type=client_credentials"}).body.access_token
          resource_id := http.send({"url":concat("",["http://keycloak.keycloak.svc.cluster.local:8080/realms/kuadrant/authz/protection/resource_set?uri=",input.context.request.http.path]),"method":"get","headers":{"Authorization":concat(" ",["Bearer ",pat])}}).body[0]
          scope := lower(input.context.request.http.method)
          access_token := trim_prefix(input.context.request.http.headers.authorization, "Bearer ")

          default rpt = ""
          rpt = access_token { object.get(input.auth.identity, "authorization", {}).permissions }
          else = rpt_str {
            ticket := http.send({"url":"http://keycloak.keycloak.svc.cluster.local:8080/realms/kuadrant/authz/protection/permission","method":"post","headers":{"Authorization":concat(" ",["Bearer ",pat]),"Content-Type":"application/json"},"raw_body":concat("",["[{\"resource_id\":\"",resource_id,"\",\"resource_scopes\":[\"",scope,"\"]}]"])}).body.ticket
            rpt_str := object.get(http.send({"url":"http://keycloak.keycloak.svc.cluster.local:8080/realms/kuadrant/protocol/openid-connect/token","method":"post","headers":{"Authorization":concat(" ",["Bearer ",access_token]),"Content-Type":"application/x-www-form-urlencoded"},"raw_body":concat("",["grant_type=urn:ietf:params:oauth:grant-type:uma-ticket&ticket=",ticket,"&submit_request=true"])}).body, "access_token", "")
          }

          allow {
            permissions := object.get(io.jwt.decode(rpt)[1], "authorization", { "permissions": [] }).permissions
            permissions[i]
            permissions[i].rsid = resource_id
            permissions[i].scopes[_] = scope
          }
        allValues: true
  response:
    success:
      headers:
        "x-keycloak":
          when:
          - selector: auth.identity.authorization.permissions
            operator: eq
            value: ""
          json:
            properties:
              "rpt":
                selector: auth.authorization.uma.rpt
EOF
❻ Obtain an access token with the Keycloak server
The AuthConfig deployed in the previous step is suitable for validating access tokens requested inside the cluster. This is because Keycloak's iss claim added to the JWTs matches always the host used to request the token and Authorino will later try to match this host to the host that provides the OpenID Connect configuration.
Obtain an access token from within the cluster for user Jane:
ACCESS_TOKEN=$(kubectl run token --attach --rm --restart=Never -q --image=curlimages/curl -- http://keycloak.keycloak.svc.cluster.local:8080/realms/kuadrant/protocol/openid-connect/token -s -d 'grant_type=password' -d 'client_id=demo' -d 'username=jane' -d 'password=p' -d 'scope=openid' | jq -r .access_token)
If your Keycloak server is reachable from outside the cluster, feel free to obtain the token directly. Make sure the host name set in the OIDC issuer endpoint in the AuthConfig matches the one used to obtain the token and is as well reachable from within the cluster.
❼ Consume the API
As Jane, try to send a GET request to the protected resource /greetings/1, owned by user John.
curl -H "Authorization: Bearer $ACCESS_TOKEN" http://talker-api.127.0.0.1.nip.io:8000/greetings/1 -i
# HTTP/1.1 403 Forbidden
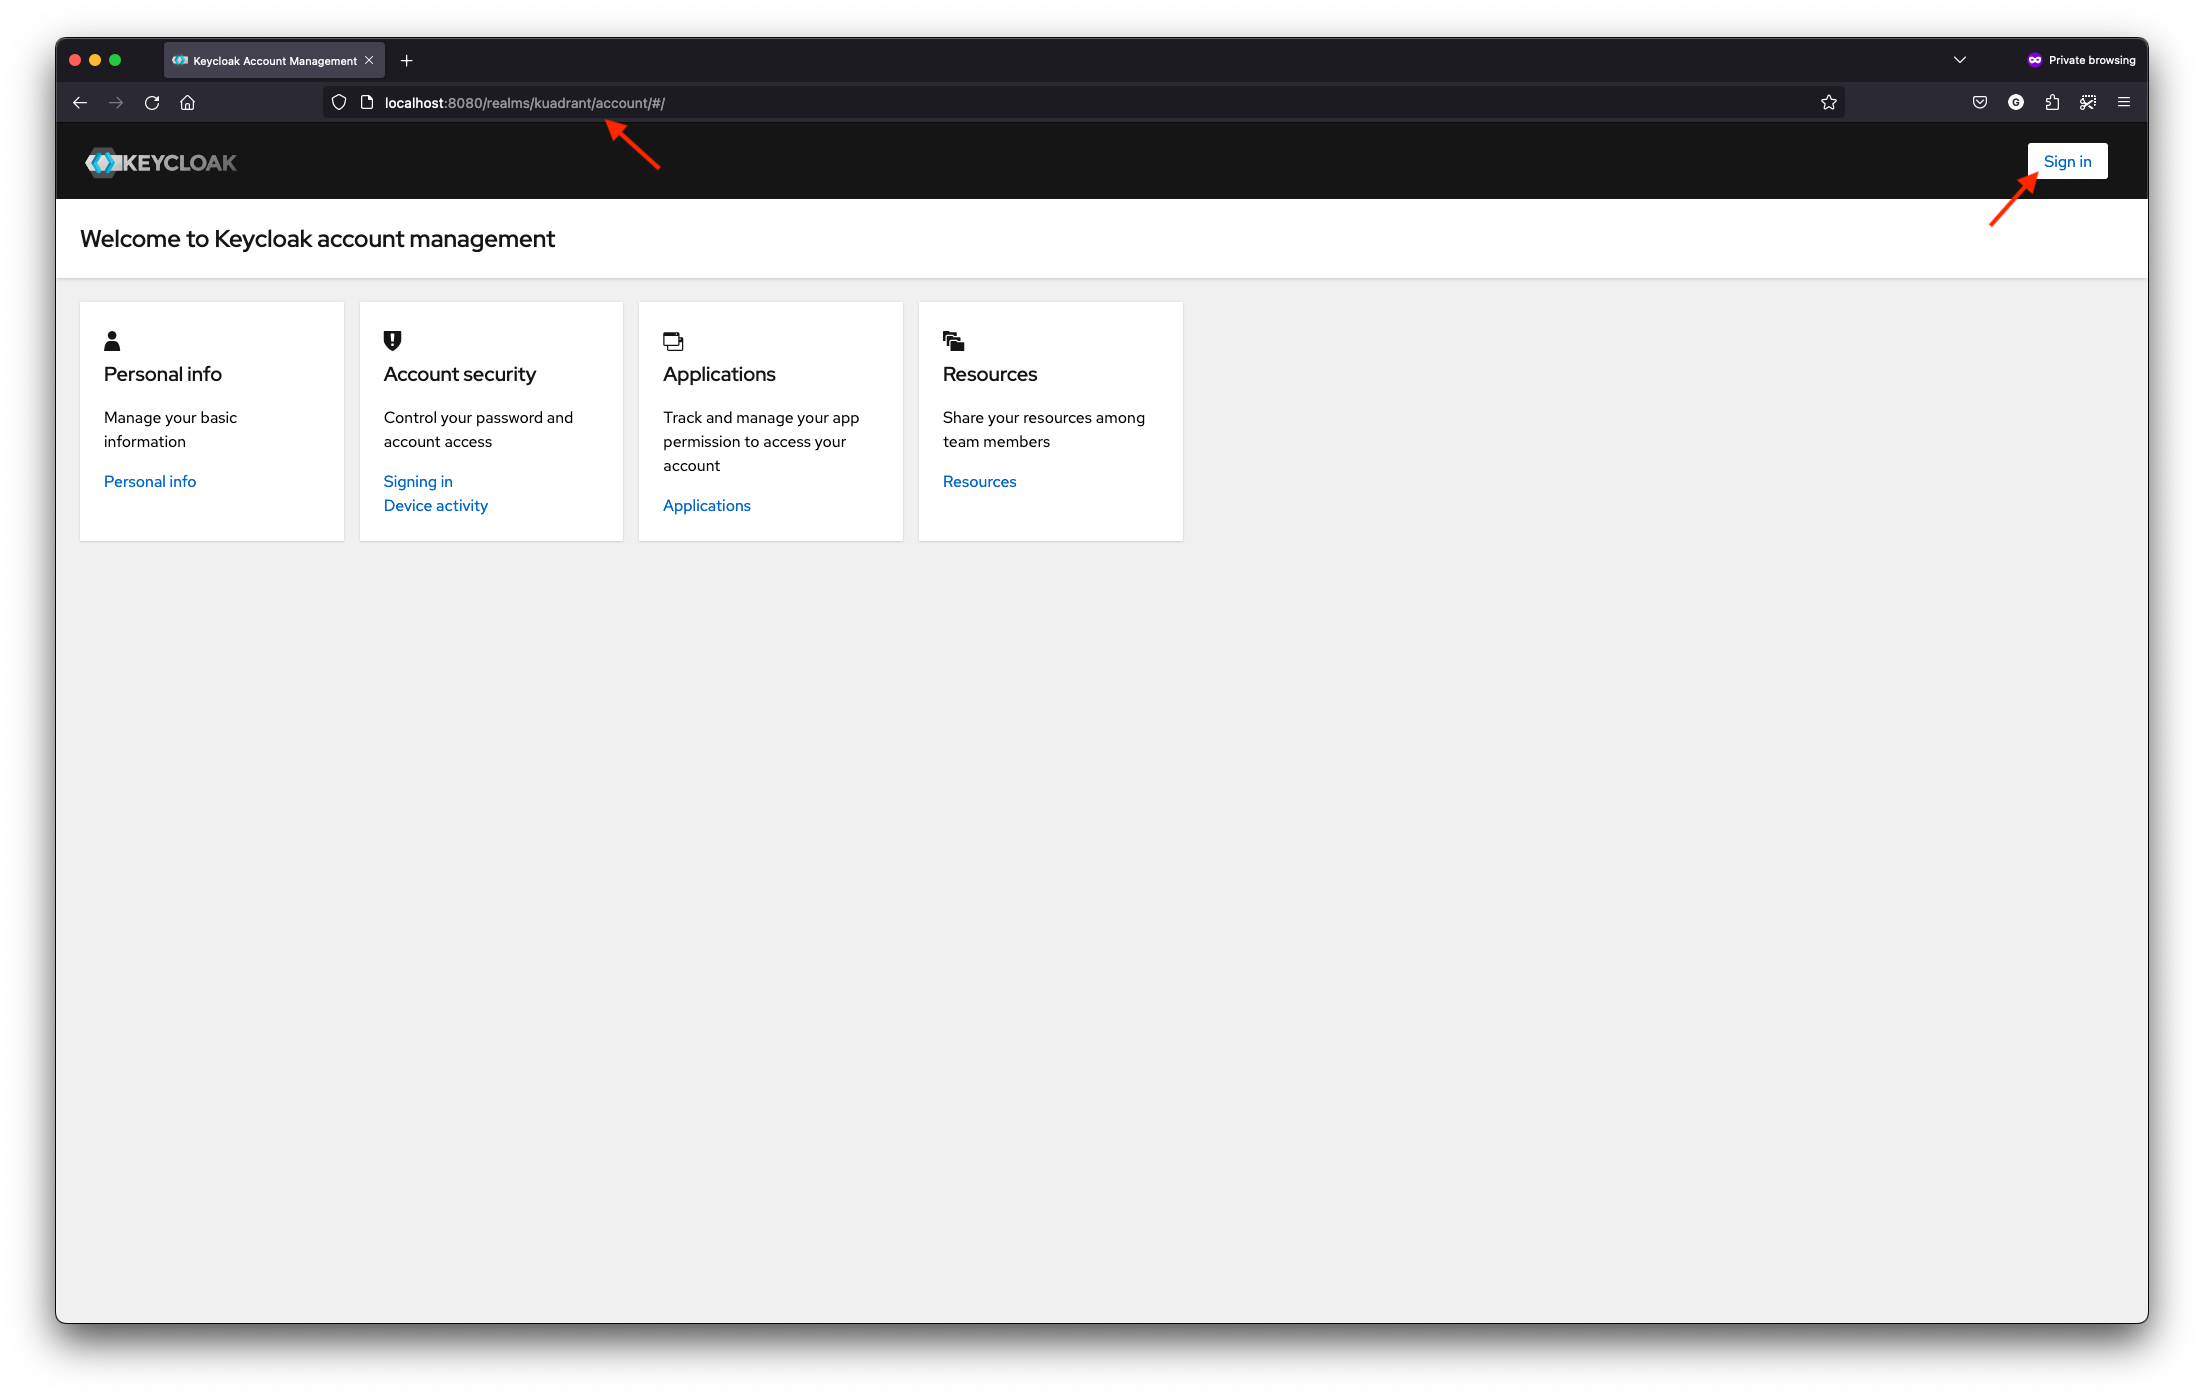
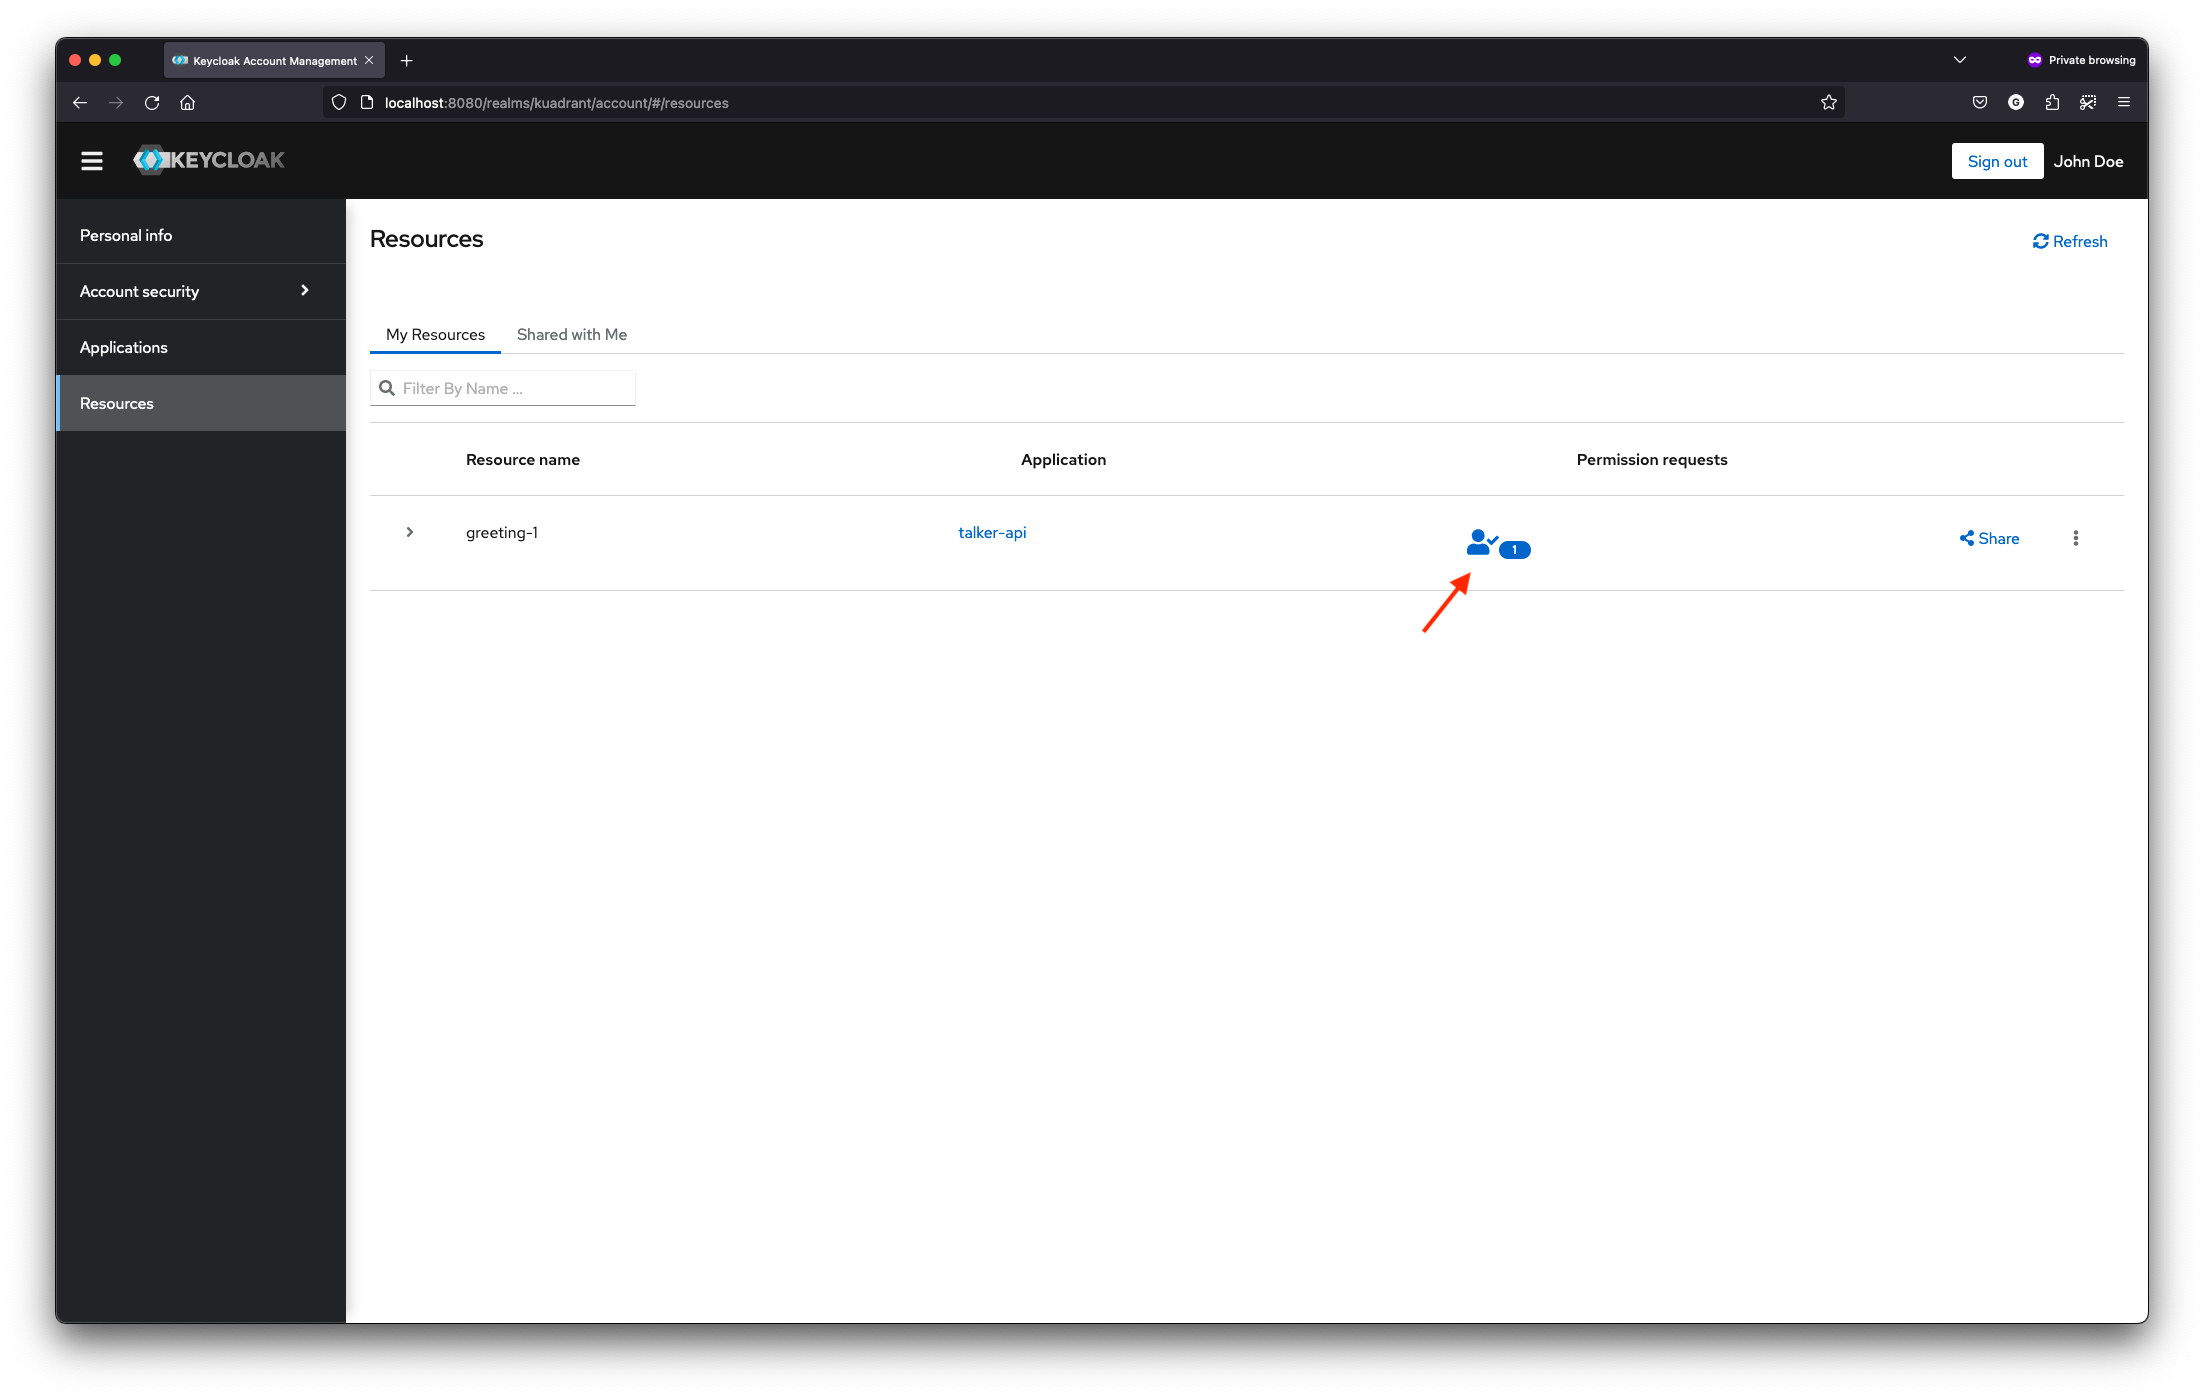
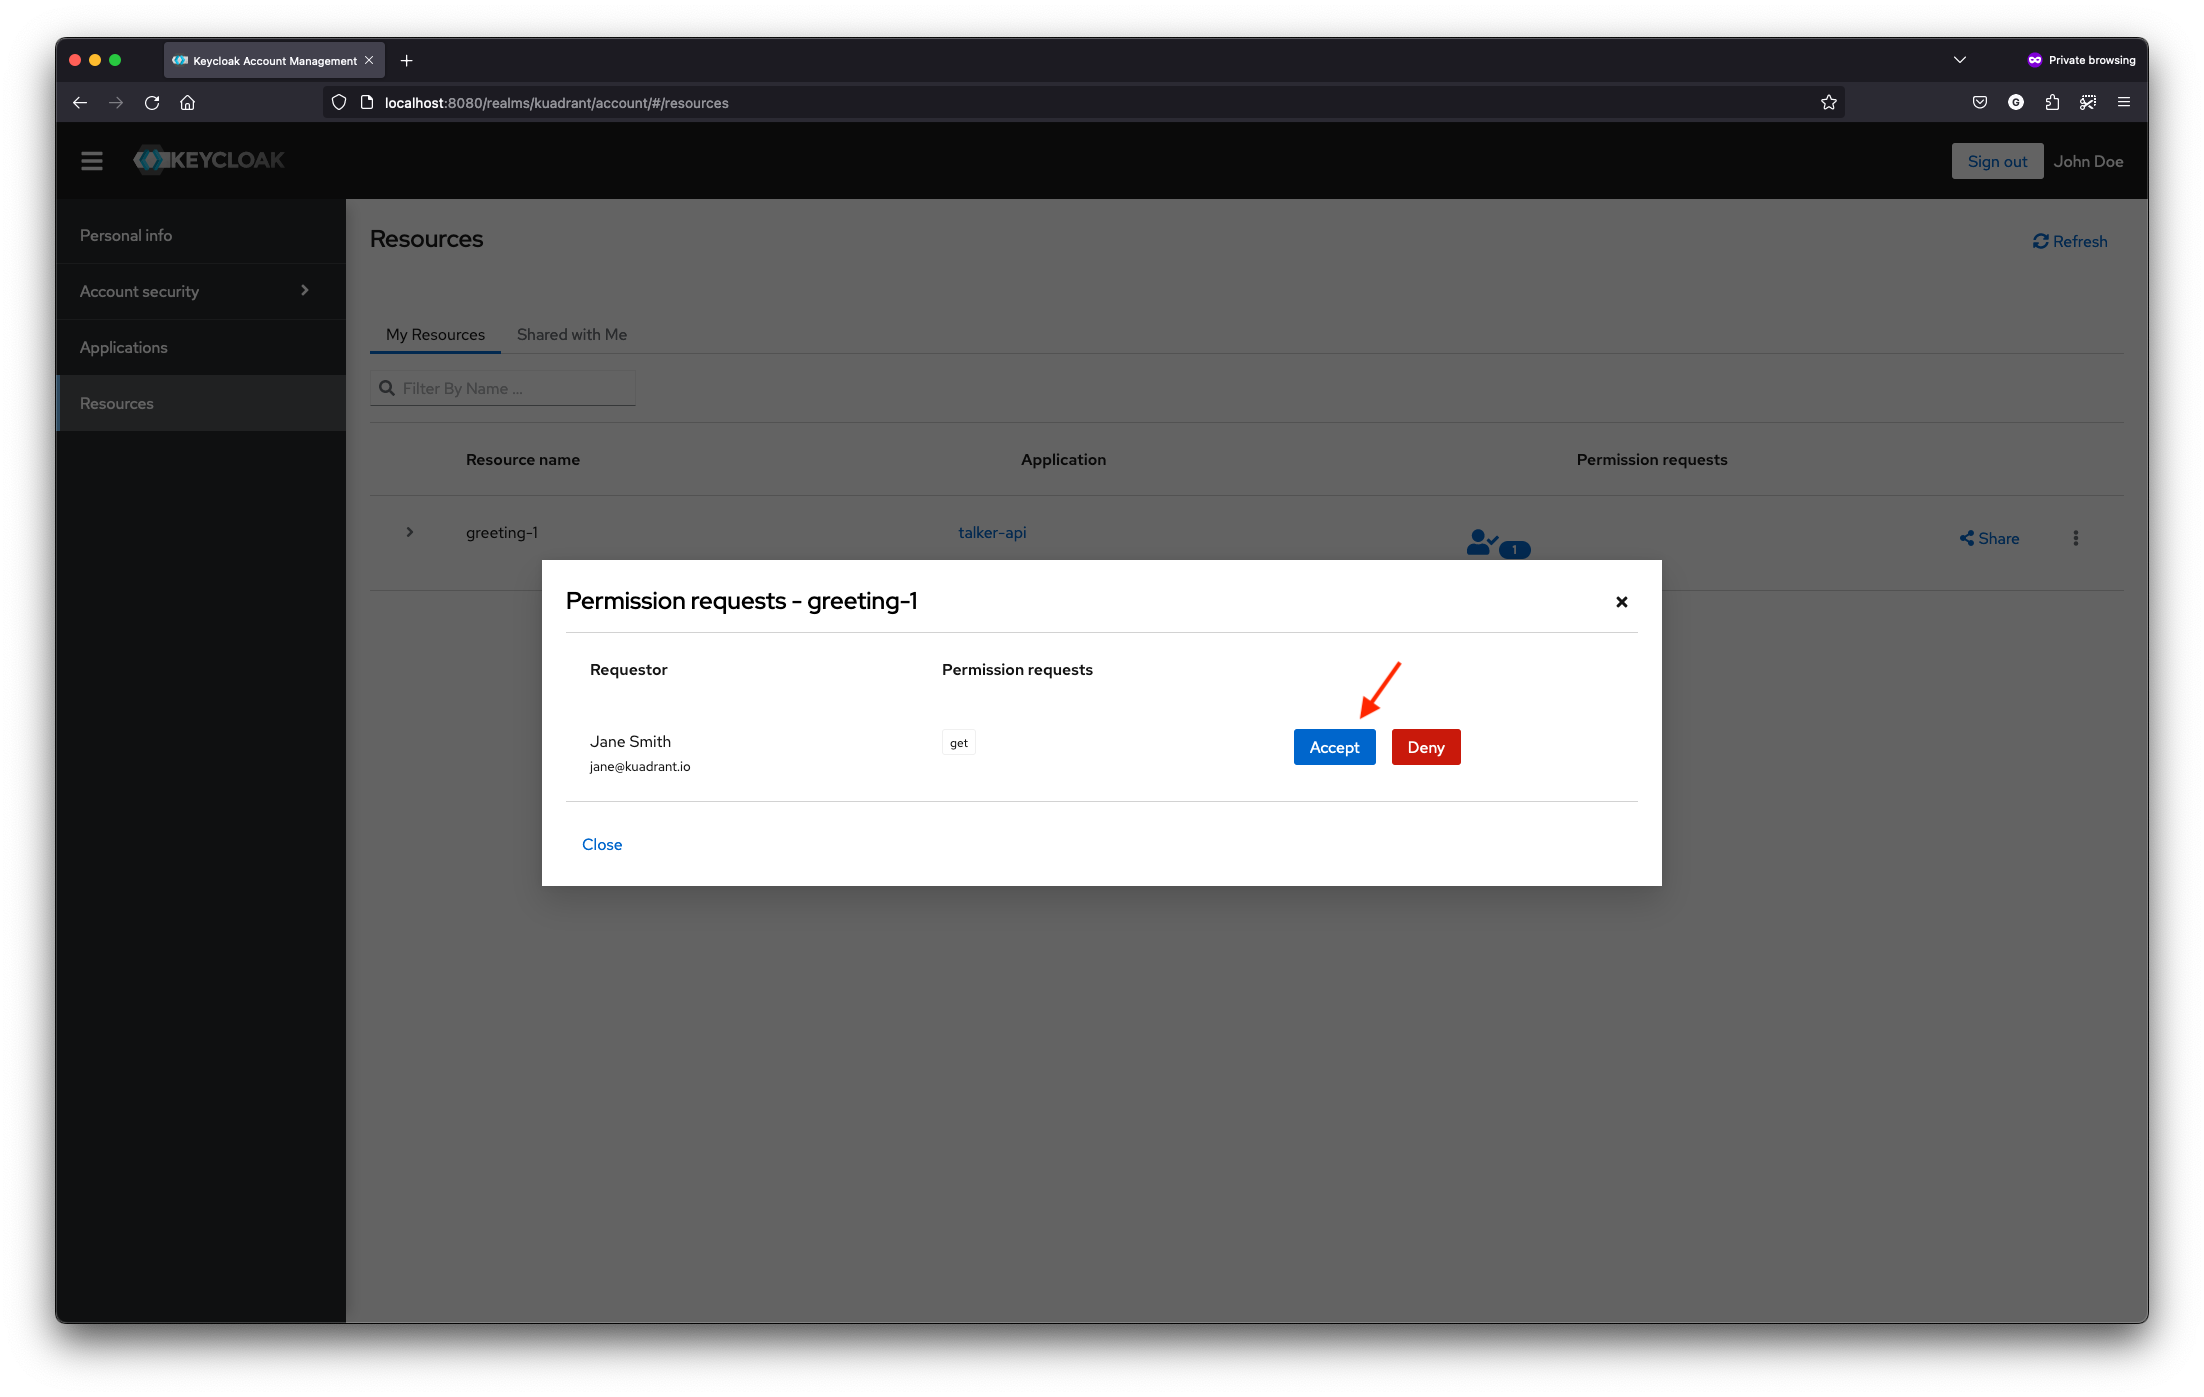
As John, log in to http://localhost:8080/realms/kuadrant/account in the web browser (username: john / password: p), and grant access to the resource greeting-1 for Jane. A pending permission request by Jane shall exist in the list of John's Resources.
As Jane, try to consume the protected resource /greetings/1 again:
curl -H "Authorization: Bearer $ACCESS_TOKEN" http://talker-api.127.0.0.1.nip.io:8000/greetings/1 -i
# HTTP/1.1 200 OK
#
# {…
#   "headers": {…
#     "X-Keycloak": "{\"rpt\":\"<RPT>", …
Copy the RPT from the response and repeat the request now using the RPT to authenticate:
curl -H "Authorization: Bearer <RPT>" http://talker-api.127.0.0.1.nip.io:8000/greetings/1 -i
# HTTP/1.1 200 OK
Cleanup
If you have started a Kubernetes cluster locally with Kind to try this user guide, delete it by running:
Otherwise, delete the resources created in each step:
kubectl delete authconfig/talker-api-protection
kubectl delete -f https://raw.githubusercontent.com/kuadrant/authorino-examples/main/envoy/envoy-notls-deploy.yaml
kubectl delete -f https://raw.githubusercontent.com/kuadrant/authorino-examples/main/talker-api/talker-api-deploy.yaml
kubectl delete authorino/authorino
kubectl delete namespace keycloak
To uninstall the Authorino Operator and manifests (CRDs, RBAC, etc), run:
kubectl delete -f https://raw.githubusercontent.com/Kuadrant/authorino-operator/main/config/deploy/manifests.yaml
-
In contrast to a dedicated sidecar of the protected service and other architectures. Check out Architecture > Topologies for all options. ↩
-
namespacedreconciliation mode. See Cluster-wide vs. Namespaced instances. ↩ -
For other variants and deployment options, check out Getting Started, as well as the
AuthorinoCRD specification. ↩ -
For details and instructions to setup Envoy manually, see Protect a service > Setup Envoy in the Getting Started page. If you are running your ingress gateway in Kubernetes and wants to avoid setting up and configuring your proxy manually, check out Kuadrant. ↩